Painting Zombies

This is the second painting lesson as part of a Halloween themed project that I taught at Yinhai Academy, Qingdao. The first lesson in the series was Pumpkin Painting.

The artistic aim of this lesson is to paint a zombie and the educational aims are: to think about the human form, to learn about mixing colours and to think about highlights and shadows.

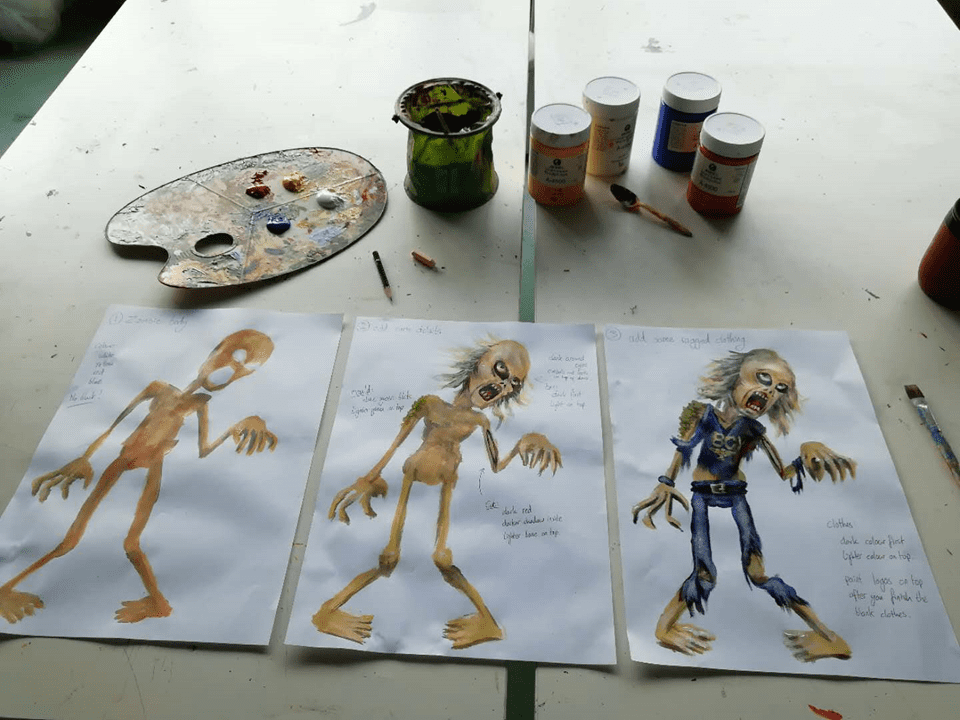
This e-lesson is basically a walk through of the zombie picture painting process, starting with the equipment that is needed. I used chalk and acrylic paint on ordinary white paper.

Preparation of equipment
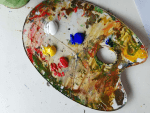
We are using acrylic paint in only four colours. The students found it very conceptually challenging to have no black paint! Notice also that I only mix small amounts of the colours together when mixing (many students make the mistake of mixing all of their colour together and then end up making a big mess and wasting a lot of paint).
Step 1
First, draw a rough outline of your zombie in chalk. This doesn’t have to be particularly precise or detailed. It is just a guideline to help you keep your zombie’s proportions fairly accurate. Chalk is better than pencil because 1) it helps students repress their urge to constantly unnecessarily rub their picture out, and 2) the chalk disappears into the paint leaving (in my opinion) a better finish.
Step 2
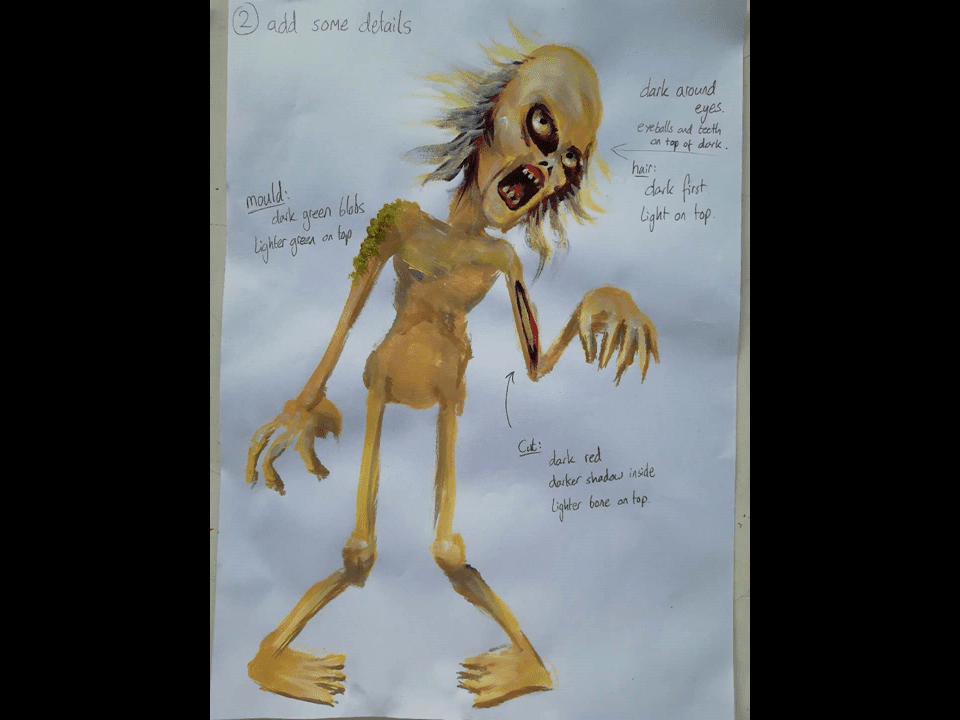
Second, paint the basic skin colour of your zombie. Notice that the colour is not uniform; there are lighter areas and darker areas. Add a little yellow or white to make the colour lighter, and blue for darker shades.
Step 3
Third, add some detail like the eyes, mouth and hair. Add mould, injuries and add more emphasis to highlights and shadows as needed. Since we are using acrylics, paint light on dark. To achieve the ‘black’ colour, mix red and blue. For extra darkness, apply multiple layers of the resulting dark purple (more blue than red).
Step 4
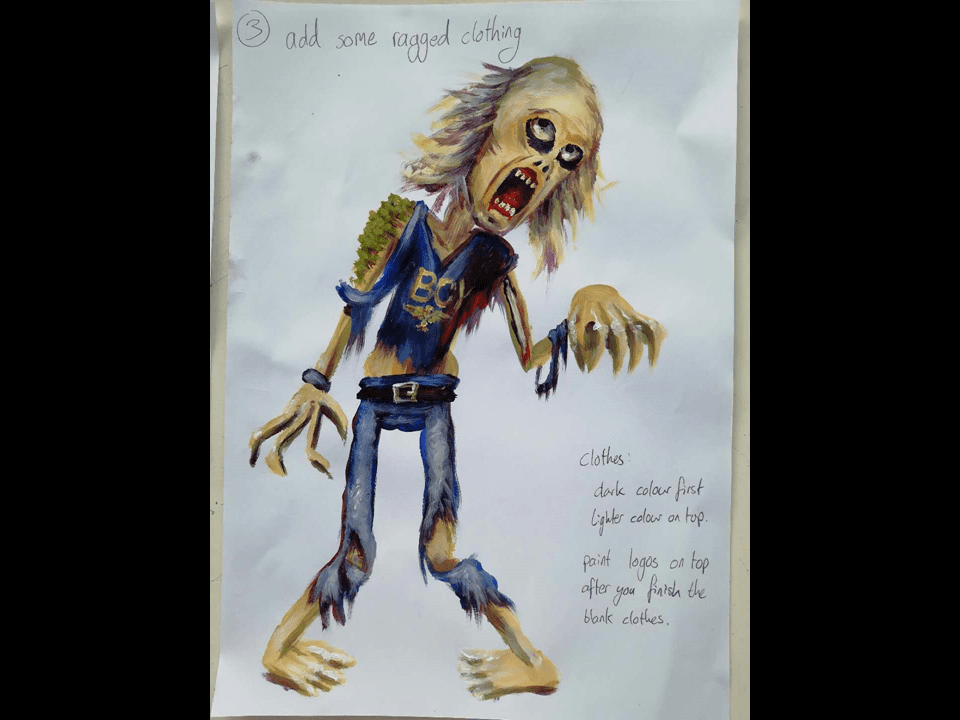
To add clothes, paint a dark shadow where the bottom edge of each piece of clothing ends then paint mid-tones and finally add highlights. Since I was giving a demo for teenagers, I added a brand logo to maintain their interest. Notice that all the way through, I am painting lighter colours on top of darker colours.
Final Results
My demonstration paintings

If you follow this lesson, please feel free to upload pictures of your zombie paintings via the comments section below 🙂

I leave you with some of the students’ results in the class of 2018:

Leave a Comment